Monday, December 31, 2012

My New Years Resolution

        Today I did something slightly uncharacteristic of me. I made a new year’s resolution. I know lots of people make these things and say they are going to follow through on them but I never do. Well I use to, until I decided to stop making these resolutions because frankly I NEVER kept a single one, but then again I have really bad work ethic. 

           
        Now don't get too excited although my name may be Julie I am no Julie Powell. But getting back on topic this all started after watching Julie & Julia yesterday, [you know the movie, based off the book, which is based off the true story of Julie Powell, who started a food blog (about cooking her way through Julia Child's cookbook)] and well it got me thinking. Now this is not just because I write a food blog, nor because of the fact that my name is also Julie, which I love but also hate how others love to point this fact out, but then I realized that although I knew this was going to be hard to follow through on and despite my history of a "lack of commitment" on things I have officially decided to not give up.  At least not for this year so whether ya love me, you hate me, haven't a clue of who I am, or just don't give a care either way, this world is going to be stuck with me for another year. Whether I have 2 readers or 10 I love having this chance to share my ideas with others and this itself is the only validation I will ever need. At least that’s what I tell myself when I lie awake at night. 

           So as I like to say "in short" my new year’s resolution is 365 days 52 new recipes. Yes maybe I'm not as ambitious as the great Julie Powell, but with all due respect, its more for the hopes of keeping my sanity intact.  I'll attempt to aim a bit higher come 2014. If I may so graciously part I wish all a happy New Year and may cooking bring you joy in the New Year!

Friday, December 28, 2012

Chicken Artichoke Flatbread Pizza

This is one of those ideas that comes to you in the middle of the night, so you shoot out of bed and write down every word as it comes flooding into your head before you forget something, because this kind of genius does not come around very often (ask anyone I know).  After I was awake and coherent I usually tend to reexamine these late night thoughts and quantify their worth and this one was a ten, a definite 10. Only problem left was the execution and welll... I'll let you be the judge of that.


INGREDIENTS: [feeds about 4 or 3 really hungry people]

Crust: [uses HC’s flat bread recipe complete tutorial here but cut in half with these alterations]
1 ½ cups flour and ½ cup extra for kneading and rolling
1 tsp. salt
1 TBS extra virgin olive oil
½ cup of water                   

Pizza toppings:
½ large red onion
1 TBS minced garlic
3 TBS tomato basil pesto (or 3TBS of minced dried tomatoes mixed with 1 tsp dried basil)
2-4 oz crumbled feta
14 oz can of artichoke hearts
1 cup shredded mozzarella
1 large chicken breast cooked (or about 1 cup shredded/cut up chicken)

*all toppings subjective to taste

White Sauce:
1 TBS flour
1 TBS butter or margarine
1 cup of milk
4-5 TBS grated Parmesan 

DIRECTIONS:


After bread is made let bread rest for 15 min. Chop up onion and rest of ingredients and set aside.  After bread is rested roll out as one whole piece.

My perfect circle I swear I passed kindergarten.
Bake on cookie sheet at 350 F for about ten minutes take out of oven and flip this process can be slightly daunting I use a large spatula and a pair of tongs to carefully flip then I stick it back in the oven for about 5-7 more minutes to tell when done it should be stiff but slightly flexible and maybe have a couple brown spots.  If any parts are still a little opaque  it's ok but those should be minimal.


 After the flat bread is done you can start the white sauce. We start with a rue, which is really just a means to thicken our sauce. Add the butter and flour at med-low and as the butter melts whisk together until there are no lumps.


Like so then you can slowly add the milk while whisking to prevent lumps, and then add parmesan one TBS at a time, if your likely to lose count like I do I suggest measuring it out before hand and then sprinkle in 1 TBS at a time while whisking. 


 After all the parmesan is added keep whisking at med-low for another 5 min then turn to low and stir occasionally  It should soon thicken, if it becomes to thick whisk in a bit more milk.

Next add some butter to a pan and saute onions, once onions start to become opaque add garlic, drain artichoke hearts and toss in after about 5 min. just until artichoke hearts have enough time to warm up a bit [a min or 2].


Next add the toppings: the tomato basil pesto, chicken, feta, onions and artichokes mixture, white sauce, and last but not least mozzarella.


Bake at 350 F for 7-10 min until cheese melts and starts to bubble. Cut, serve, maybe top with fresh basil and some cajun seasoning and enjoy!


everything in short...... or shorter...


INGREDIENTS: [feeds about 4 or 3 really hungry people]

Crust: [uses HC’s flat bread recipe complete tutorial here but cut in half with these alterations]
1 ½ cups flour and ½ cup extra for kneading and rolling
1 tsp. salt
1 TBS extra virgin olive oil
½ cup of water                  

Pizza toppings:
½ large red onion
1 TBS minced garlic
3 TBS tomato basil pesto (or 3TBS of minced dried tomatoes mixed with 1 tsp dried basil)
2-4 oz crumbled feta
14 oz can of artichoke hearts
1 cup shredded mozzarella
1 large chicken breast cooked (or about 1 cup shredded/cut up chicken)

*all toppings subjective to taste

White Sauce:
1 TBS flour
1 TBS butter or margarine
1 cup of milk
4-5 TBS grated Parmesan

DIRECTIONS:
Mix flour, salt, olive oil and water. After mixed let bread rest for 15 min. Chop up onion and rest of ingredients and set aside.  After bread is rested roll out as one whole piece.

Bake on cookie sheet at 350 F for about ten minutes.  Take out of oven and flip over [this process can be tricky I use a large spatula and a pair of tongs to carefully flip].  Then stick it back in the oven for about 5-7 more minutes.  It should be stiff but slightly flexible and maybe have a couple brown spots when done.  If any parts are still a little opaque  it's ok but those should be minimal.

After the flat bread is done start the white sauce. Start with a rue add the butter and flour at med-low and as the butter melts whisk together until there are no lumps. Then slowly add the milk while whisking and then add parmesan one TBS at a time, while whisking.

After all the parmesan is added keep whisking at med-low for another 5 min then turn to low and stir occasionally.  It should soon thicken, if it becomes to thick whisk in a bit more milk.

Next add some butter to a pan and saute onions, once onions start to become opaque add garlic, drain artichoke hearts and toss in after about 5 min. cook just until artichoke hearts have enough time to warm up a bit [a min or 2].

Next add the toppings: the tomato basil pesto, chicken, feta, onions and artichokes mixture, white sauce, and last but not least mozzarella.

Bake at 350 F for 7-10 min until cheese melts and starts to bubble. Cut, serve, maybe top with fresh basil and some cajun seasoning and enjoy!


Friday, December 21, 2012

Merry Christmas to all and to all...

A good night...

Umm so I kinda sorta may have believed the whole Mayan Apocalypse story hence the reason why I didn't quite plan a recipe for you today. Sooo now that we can all enjoy life again I need to catch up on my Christmas shopping. And in the hopes that we all will survive the rest of this day I'll have a recipe for you next week. Stay safe in your bunkers, only 11 more hours to go people! I'm gonna get some wrapping done I'll see ya next week.


Friday, December 14, 2012

Chicken Noodle Soup

Recently, I realized homemade chicken noodle soup is suprisingly easy to make.  Last month being sick and really wanting chicken noodle soup, but having a slight aversion to the kind in the can, as in it induces a gag reflex in me, I decided to make my own. Whether it's the mushy  noodles or the mushy vegetables that induce the churning of my stomach, or the idea of canned meat (yeah who ever decided that canned meat was a good idea no, no I don't think so), it is now my great pleasure today to present to you the delicious, tolerable, delectable, no more mushy noodles or canned meat, chicken noodle soup, and yes that is its full title. Oh and please forgive me for the sub-par photos this week, next week will be better I promise, eh who am I kidding, next week I will attempt to do better. Yeah, I can keep that promise.


INGREDIENTS:
3 cups chicken broth low sodium (=24 oz.)
2 cups egg noodles (16oz.)
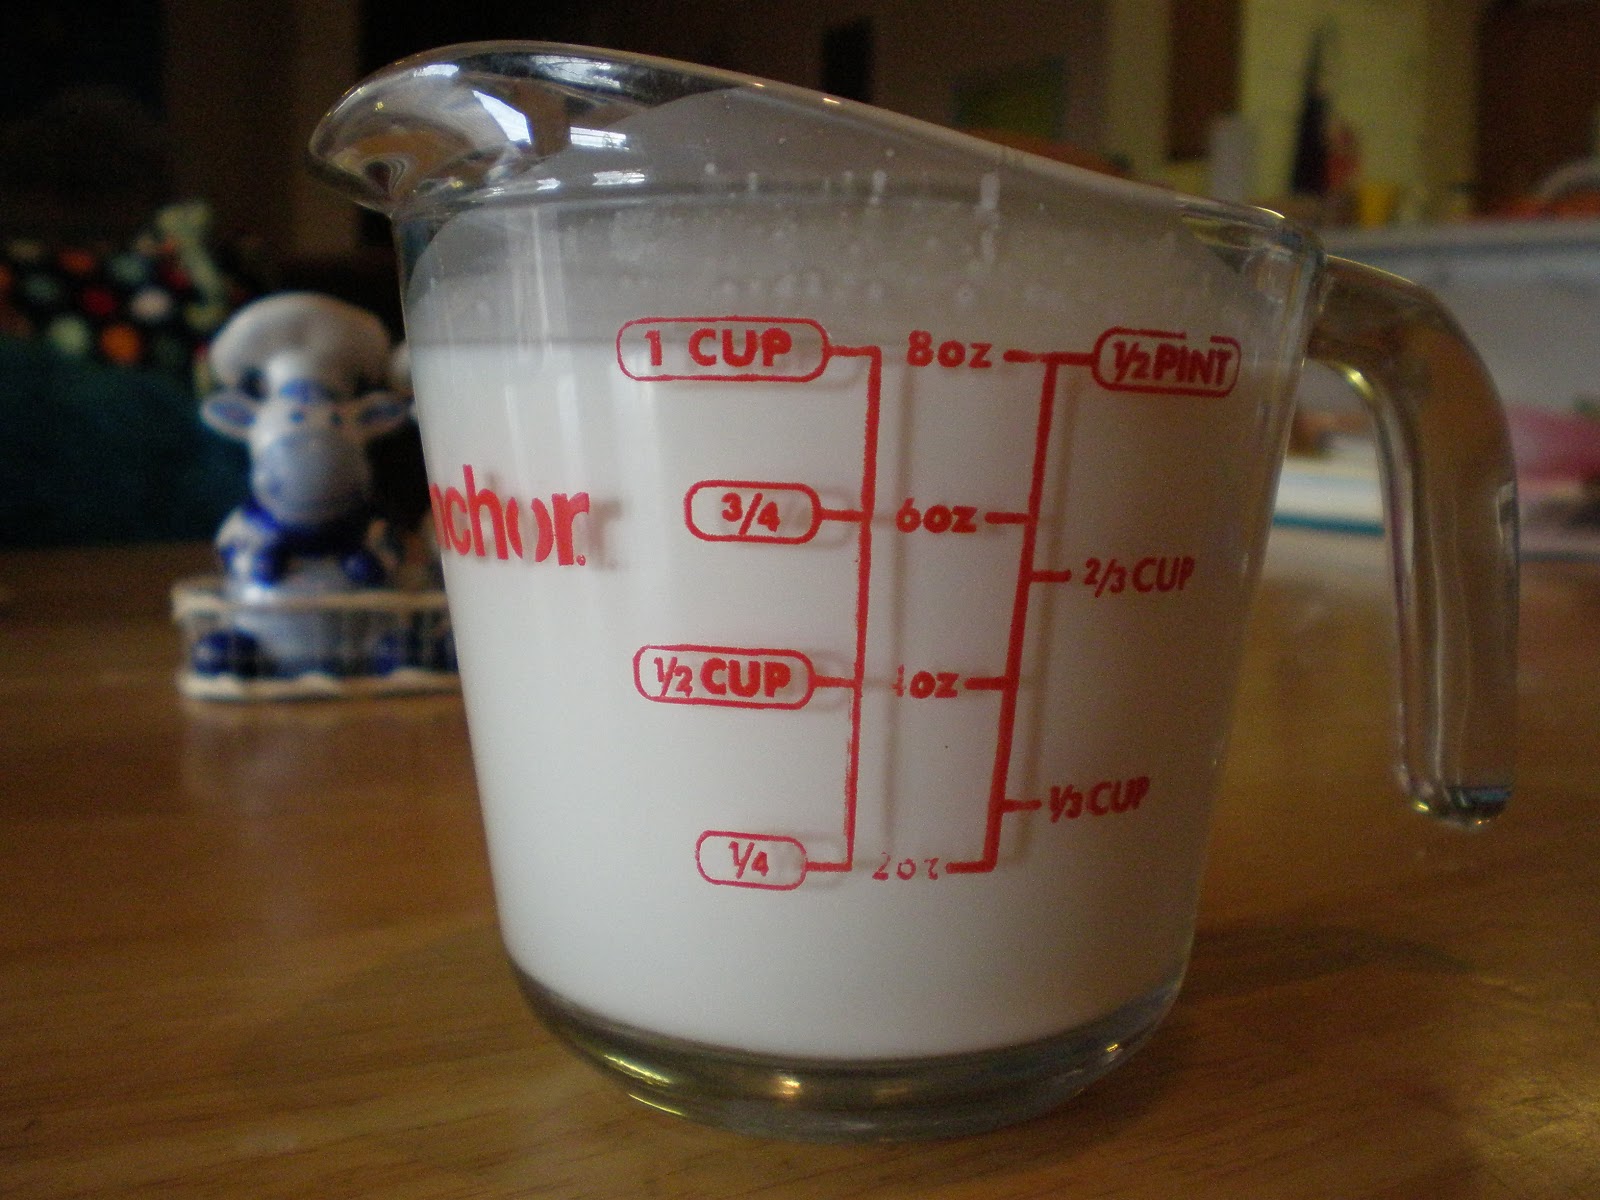
1 cup water
½ large yellow onion chopped (= 1cup)
1 cup chopped carrots (=8oz.)
½ cup chopped celery (about 1-2 stalks)
1 TBS minced garlic (3-4 cloves)
1 large chicken breast (enough to = 1 cup chopped up) [P.S. you can use pre cooked chicken too]
About a tsp. of butter or margarine
Salt and pepper to taste

*Ingredient amounts are always adjustable (I usually add a cup of chopped celery but if you’re not a big fan of celery like some people I know, those who shall not be named [roommates], you can always cut it down to ½ a cup as in here, or add a little bit more if ya love the stuff. The same goes for the garlic, carrots, and onions.)

DIRECTIONS:


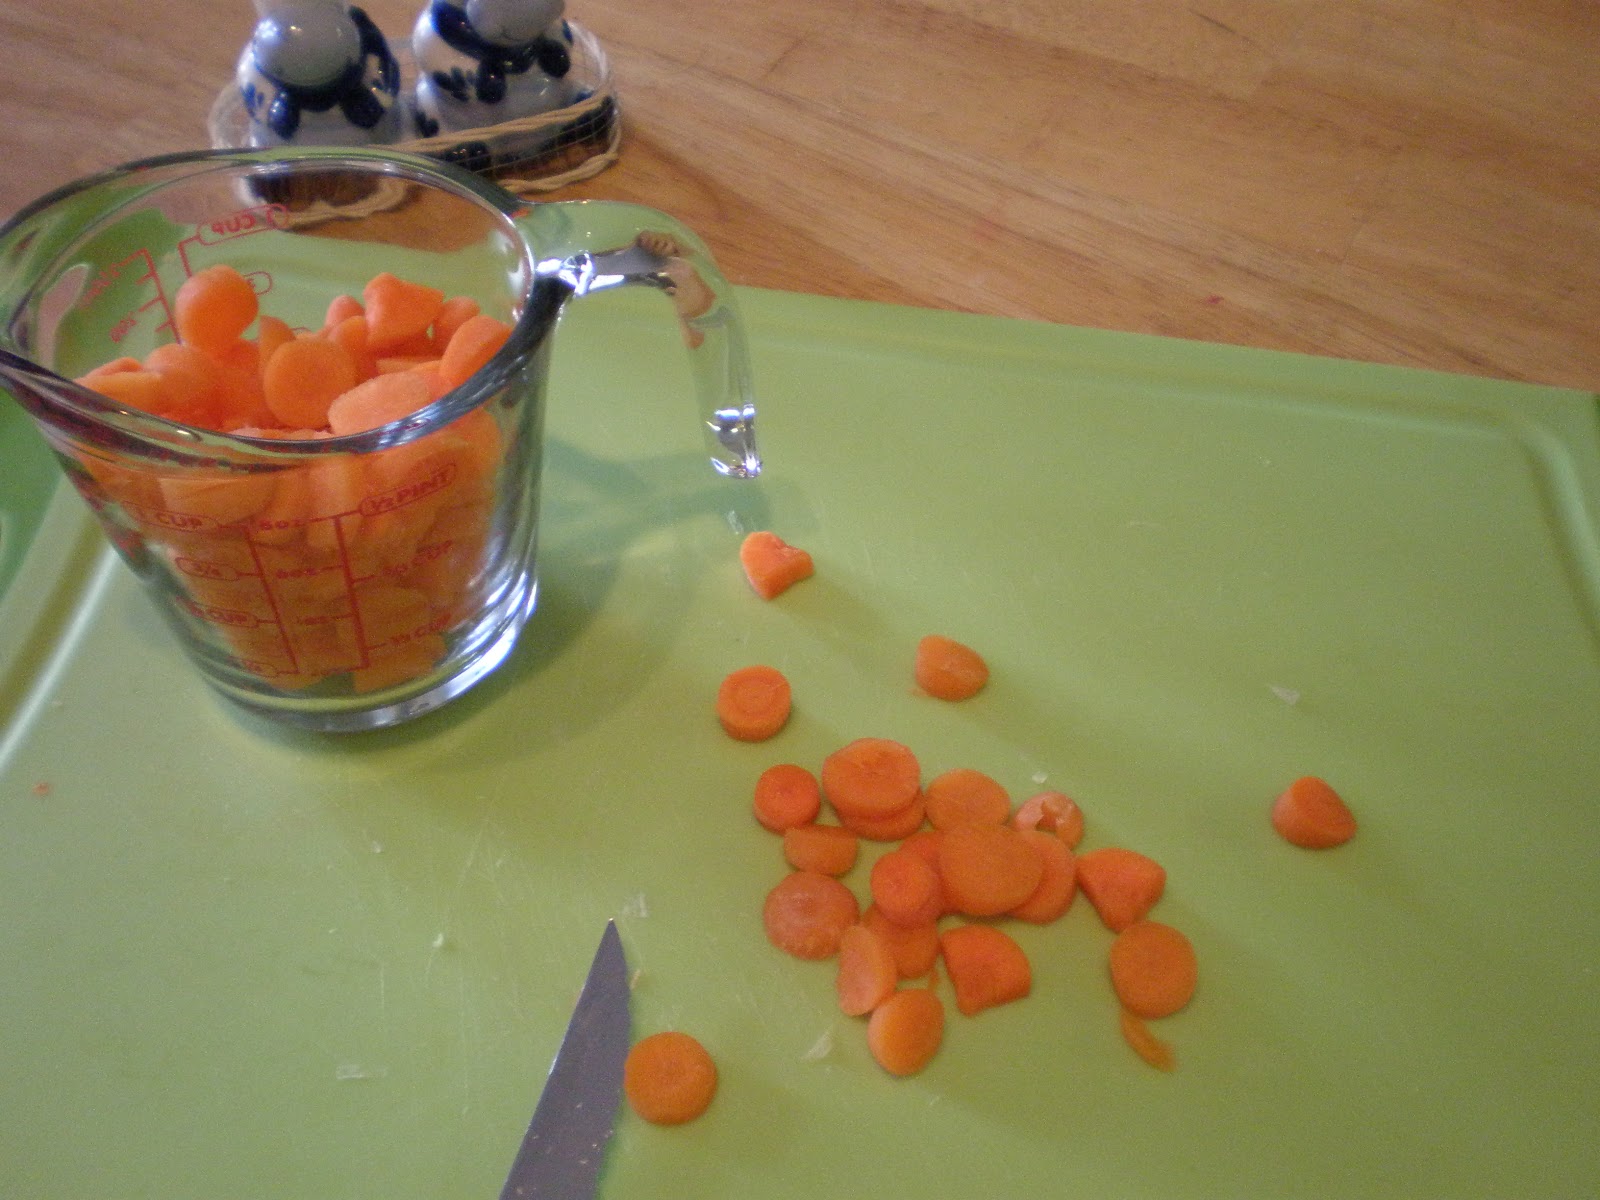
 First thing you want to do chop up the carrots into bite size pieces. I like to use baby carrots because you only really have to cut them in direction; however, they do sometimes tend to shoot across the room when cutting so be wary of that.


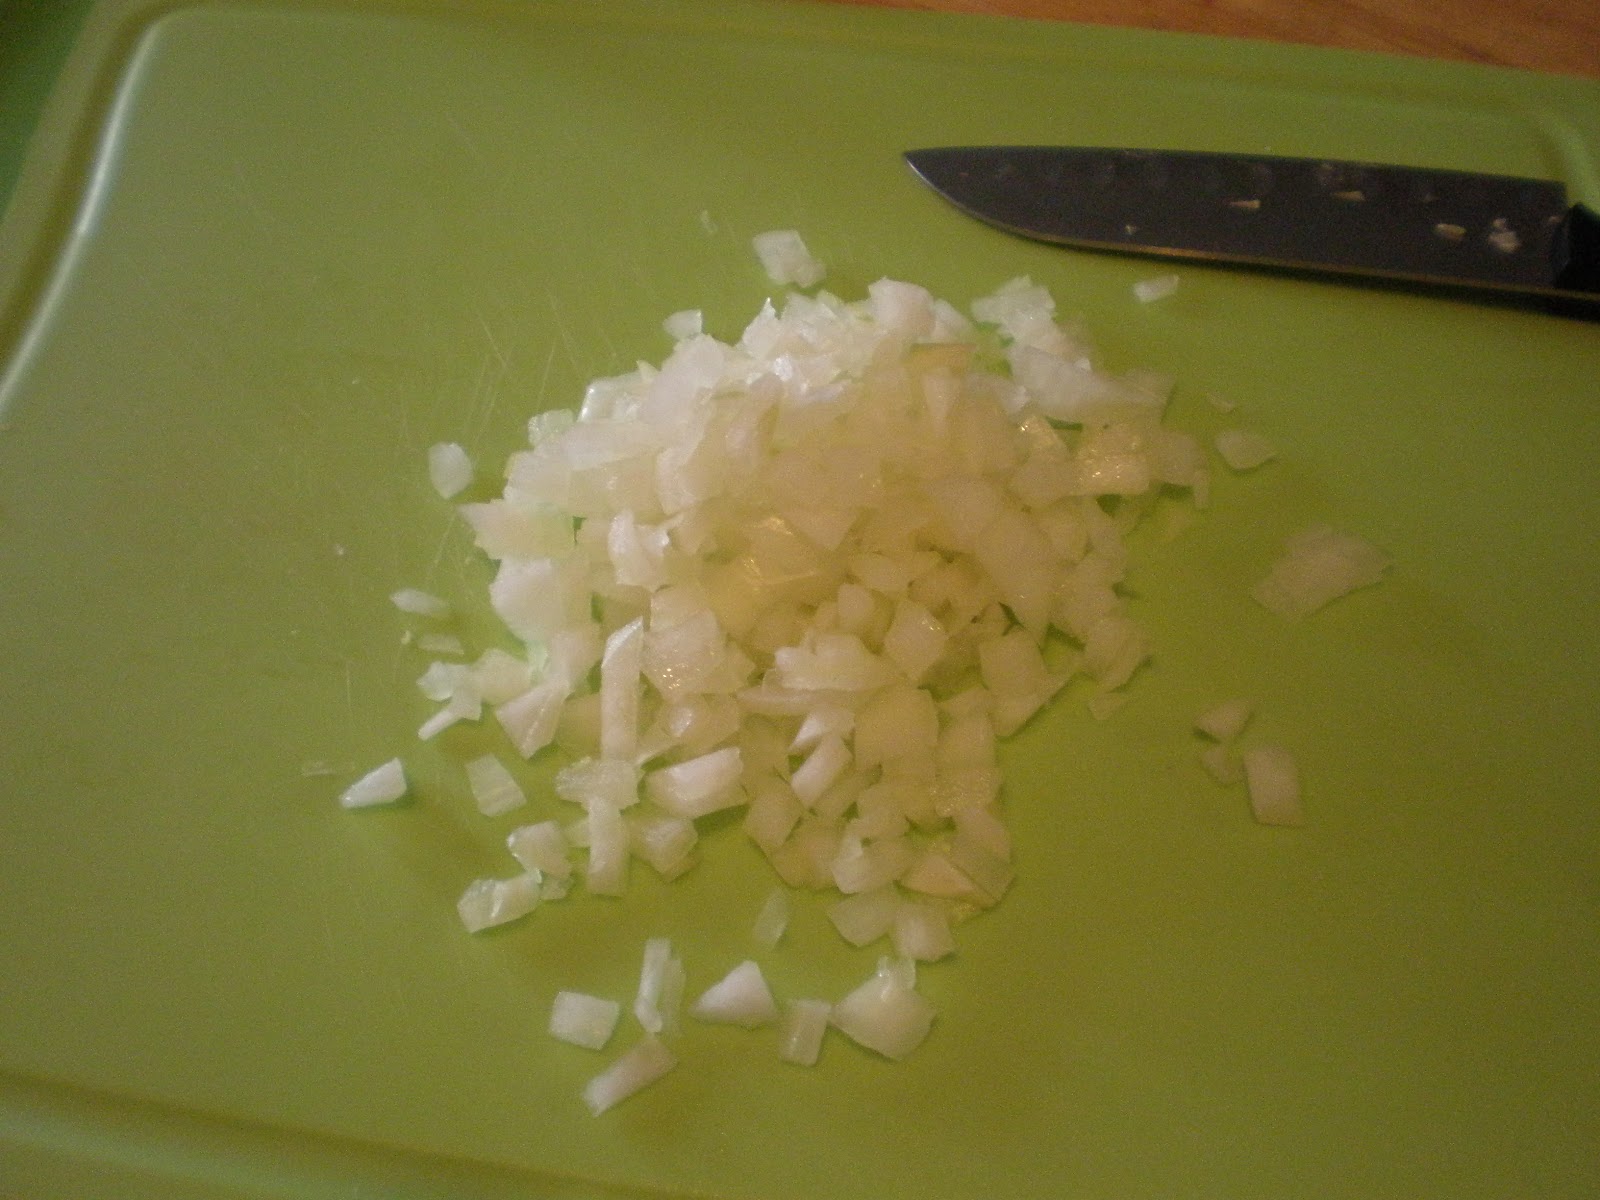
Next dice up onions and....


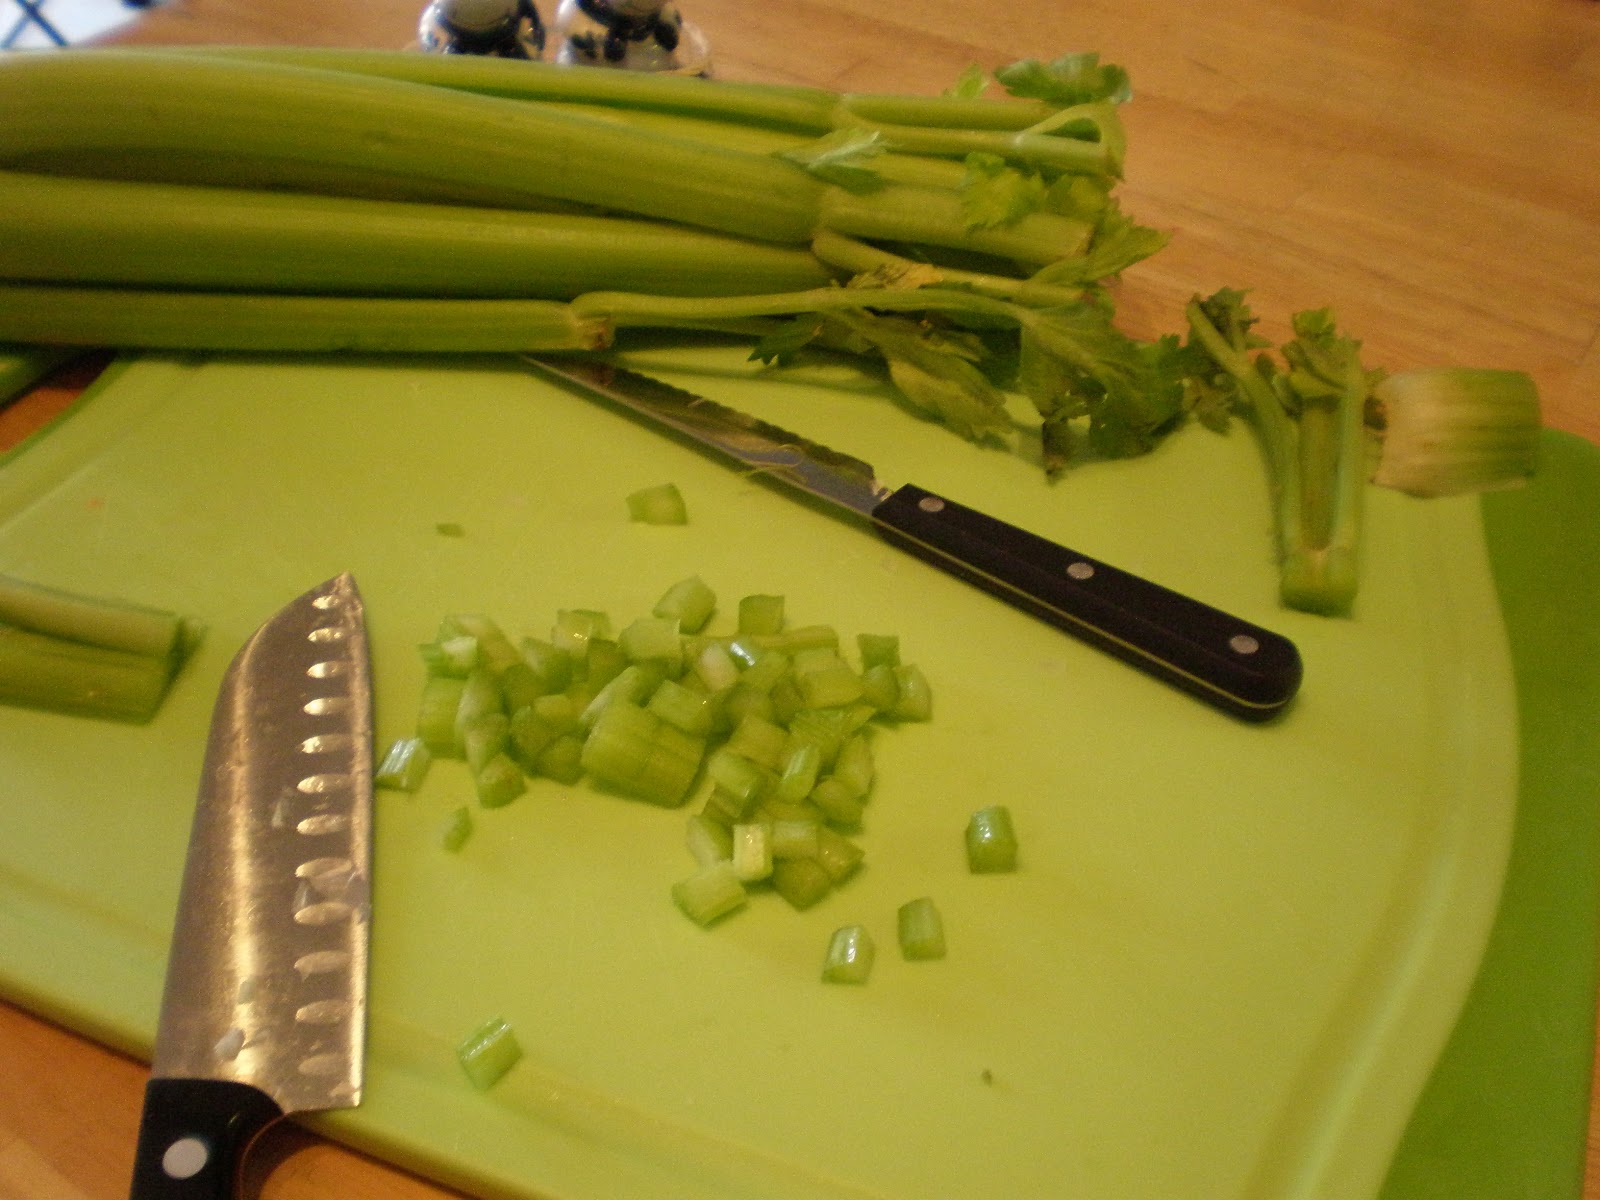
Dice up the celery.  To get a good size for the celery I just chop off the top and the bottom, cut it into fourths the long way, and then just chop the whole thing up.


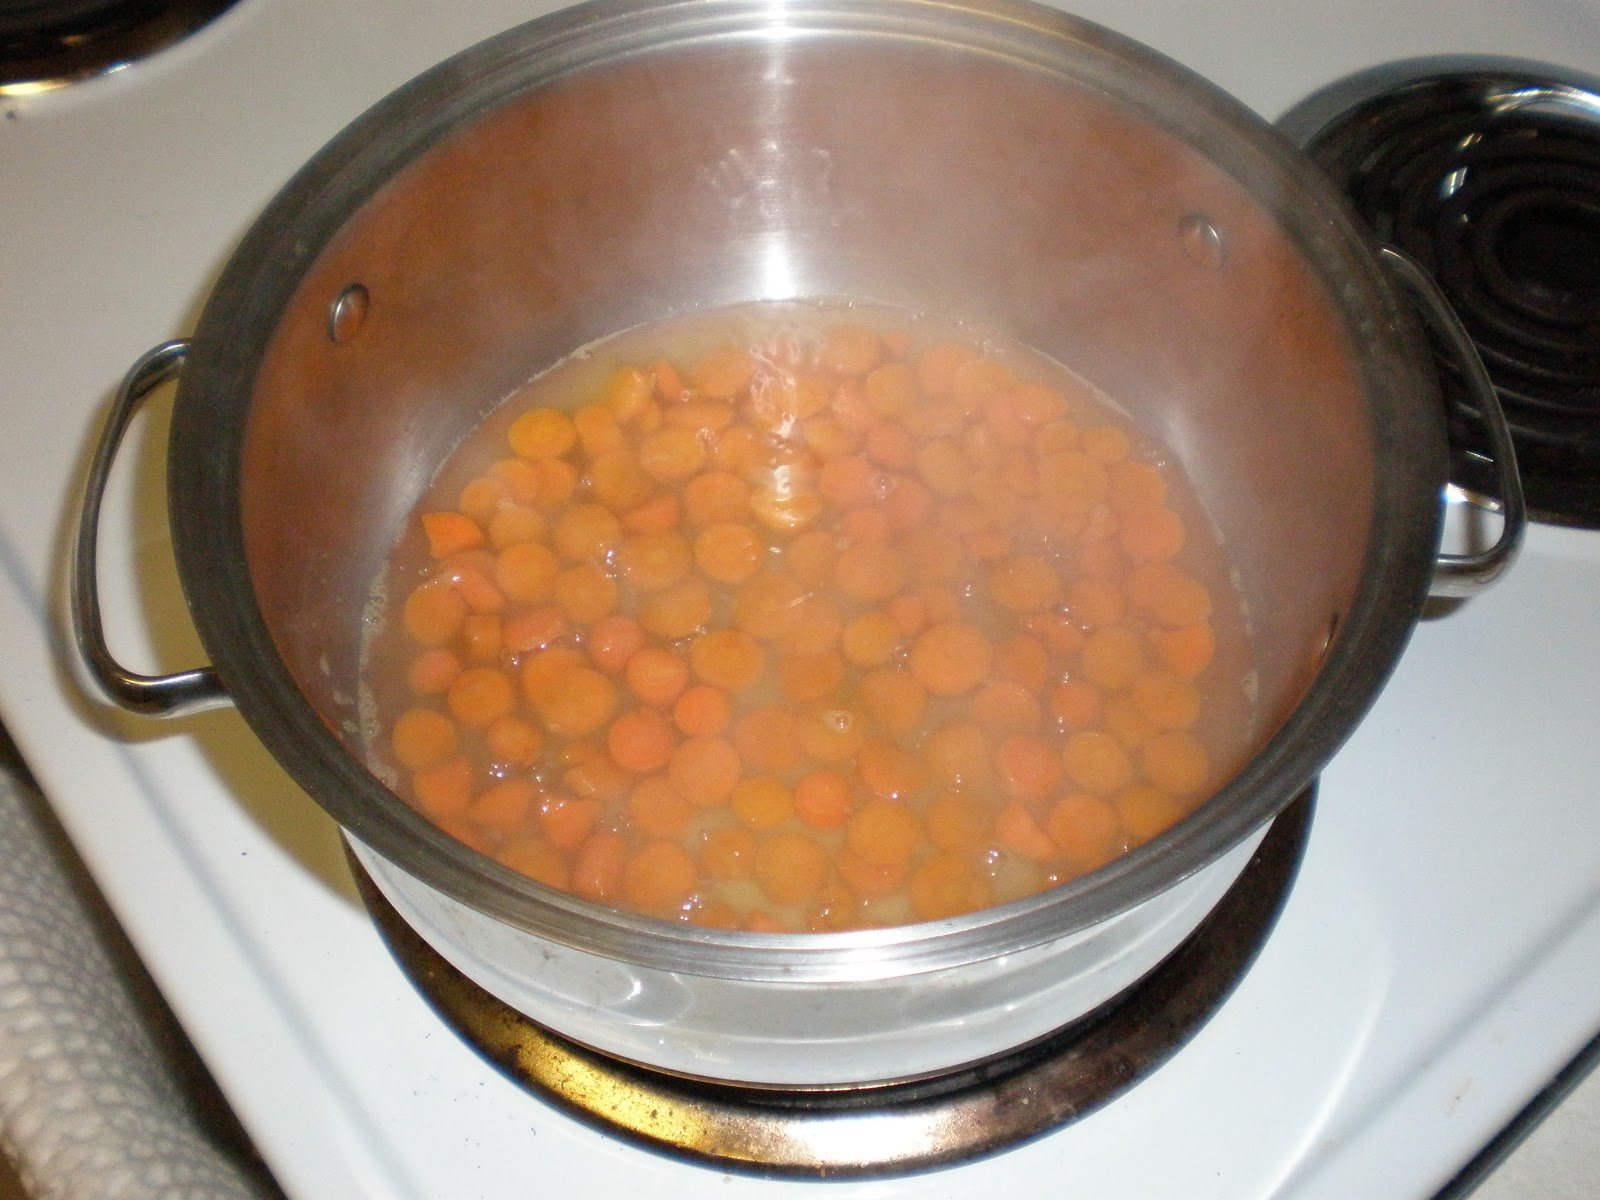
Toss chopped carrots into pot and pour in just enough broth to cover the tops completely. Bring to a boil and then simmer uncovered for 10-15 min. or until tender when stabbed with a fork.  [Just keep in mind we are only adding to this pot so the carrots will continue to cook as we add the other ingredients.] When done take off heat and set aside.

Next melt some butter in a saute pan and toss in the celery with a little salt and pepper, after about 2-3 min toss in the onions wait another 2-3 min until the onions become slightly opaque, and throw in the minced garlic. Take the sauteed mixture off the heat and set aside.


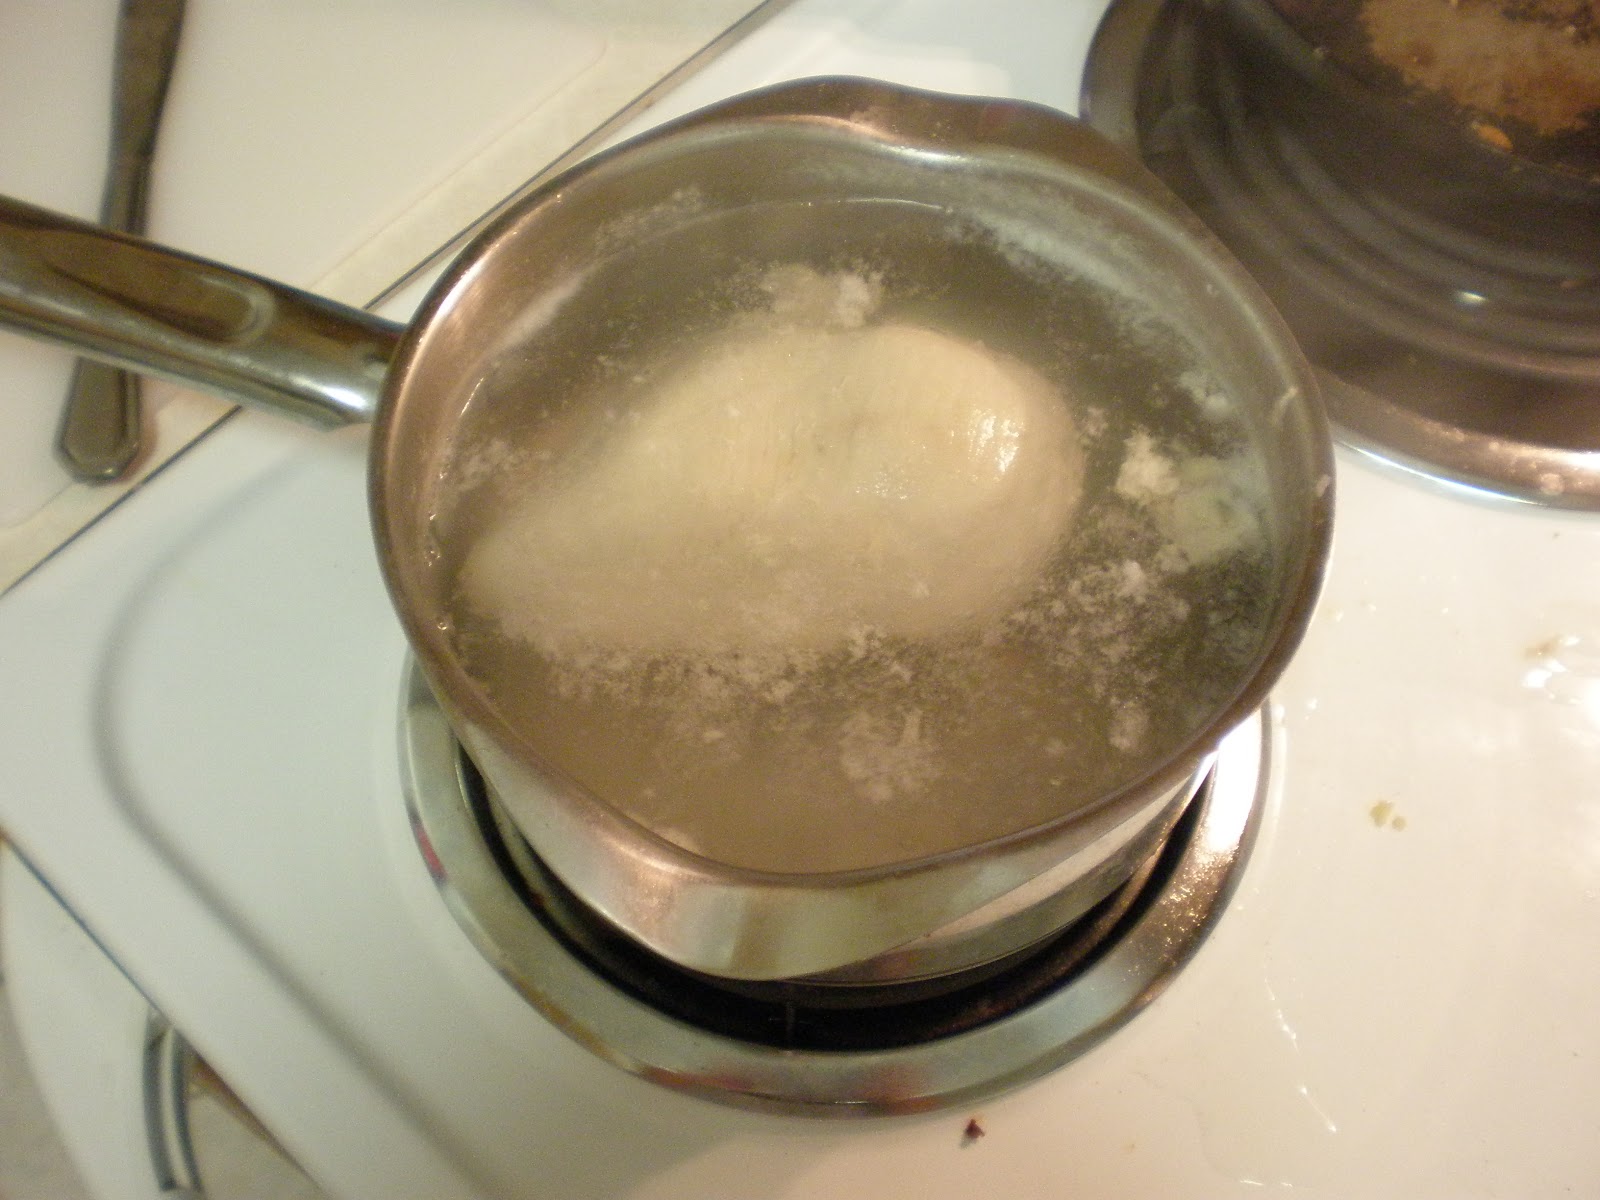
Next grab a new pot fill with water and bring to a boil.  Then once boiling put in the chicken breast, it should cook in about 20 min [keeping it at a low boil] depending on the size, and if you grab it with a pair of tongs it should seem pretty firm. If you're worried about the middle taking longer to cook than the outer skinnier parts you can always cut it up into somewhat equal sizes and put it back into the pot.

After about 10-15 min check your chicken by cutting into the thickest part if there is no pink whatsoever it should be done, which is not always likely at this point, cut up the rest of the chicken and also make sure there are no pink spots.

While the chicken is cooking take back the pot with the partially cooked carrots, and pour in the rest of the chicken broth and the 1 cup of water.  Toss in the egg noodles bring to a roaring boil then turn it down to a slight boil and cook noodles for about 6-8 min stirring occasionally or until a slightly al dente [slightly under cooked]  texture is reached. 

yes I hate florescent lights too
Once the chicken is cooked and cut up and the noodles are al dente throw the cooked chicken and sauteed celery, onions, and garlic, into the pot simmer for about 5 min salt and pepper to taste, serve, then eat!

One of the roomies eating some soup
everything in short...


INGREDIENTS:
3 cups chicken broth low sodium (24 oz.)
2 cups egg noodles
1 cup water
½ large yellow onion chopped (= 1cup)
1 cup chopped carrots (=8oz.)
½ cup chopped celery (about 1-2 stalks)
1 TBS minced garlic (3-4 cloves)
1 large chicken breast (enough to = cup chopped up)
About a tsp. of butter or margarine
Salt and pepper to taste

*Ingredient amounts are always adjustable (I usually add a cup of chopped celery but if you’re not a big fan of celery like some people I know, those who shall not be named [roommates], you can always cut it down to ½ a cup as in here, or add a little bit more if ya love the stuff. The same goes for the garlic, carrots, and onions.)

DIRECTIONS:

First thing you want to do chop up the carrots into bite size pieces, chop up the onions and the celery.

Next toss chopped carrots into pot and pour in just enough broth to cover the tops completely. Bring to a boil and then simmer uncovered for 10-15 min. or until tender when stabbed with a fork.  [Just keep in mind we are only adding to this pot so the carrots will continue to cook as we add the other ingredients.] 

Melt some butter in a sauté pan and toss in the celery, after about 2-3 min toss in the onions wait another 2-3 min until the onions become slightly opaque, and throw in the minced garlic. Take the sautéed mixture off the heat and set aside.

Next grab a new pot and fill with water, bring to a boil and then put in the chicken breast. It should cook in about 20 min depending on the size and if you grab it with a pair of tongs it should seem pretty firm when done. If you're worried about the middle taking longer to cook than the outer skinnier parts you can always cut it up into somewhat equal sizes and put it back into the pot. After about 10 min check your chicken by cutting into the thickest part if there is no pink whatsoever it should be done, cut up the rest of the chicken and also make sure there are no pink spots.

While the chicken is cooking take back the pot with the partially cooked carrots, and pour in the rest of the chicken broth and the 1 cup of water.  Toss in the egg noodles bring to a roaring boil then turn it down to a slight boil and cook noodles for about 6-8 min stirring occasionally or until slightly al dente.

Once the chicken is cooked and cut up and the noodles are done throw the cooked chicken and sauteed celery, onions, and garlic, into the pot simmer for about 5 min salt and pepper to taste, serve, then eat!


Monday, December 10, 2012

Whipped Cream from Scratch

I feel as though people overestimate the difficulty of some things, whipped cream for instance. I love this stuff, it's supper easy, a kindergartner could do it, no joke I swear. Although I haven't tested this theory I have a good bit of faith in that statement. It doesn't take long at all (about 20 min. tops) and it taste a WHOLE lot better, especially since you get to control the sugar content. Added bonus you cut out those hydrogenated oils that are found in most of those whip creams. (Insert rant about hydrogenated oils and trans fats here.)


INGREDIENTS:
1 cup heavy whipping cream
1-2 TBS granulated sugar
= 2 cups of whipped cream


First things first, make sure your heavy whipping cream is fairly fresh, if not it will have a slight bitter hint to it, kind of like butter milk, and that is not tasty. If you opened it a week ago and you keep your fridge relatively colder than average it should be okay, any longer and you may be risking it.

Next get a bowl preferably metal, but it doesn't have to be, and the whisks to your electric mixer and shove those in the freezer for at least 10 min.


Once your bowl and whisks are relatively cold take 'em out and measure out and pour in the heavy whipping cream.


Start to mix the heavy whipping cream on the lowest setting; however, if you have a kitchen aid stand mixer the second lowest setting is better. If no change is noticeable after the first five minutes knock the speed up by one setting.


Once you start to see firm ridges [like below] starting to form in the cream start to add the sugar SLOWLY while mixing. SLOWLY add 1 TBS first, and check for taste, if you'd like it sweeter add a bit more.


Soon firmer ridges will start to form, a little less than a minute later, like so [below]. 


Turn off mixer and check for a stiff peak: which is when you lift your mixer out of the cream it should hold its shape. If it holds its shape you are done, and if you're feeling really fancy fold in some melted chocolate and you have chocolate mousse!


Enjoy!

Friday, December 7, 2012

Chocolate Peanut Butter Mug Cake

Everyone knows about mug cakes right? Pinterest is the main cause of that, along with making every woman in the world believe she should make wreathes out of household items and start working out a whole lot more. Okay, okay, I’ll admit it I’m a pinterest addict too, I tried going to PA anonymous but I keep relapsing, and I still have this unquenchable urge to decorate my house with mason jars. So yes I'm a pinterest addict but for now I’ll embrace it and go look at pictures of cats with funny captions to go along with them and tell myself I’m gonna start working out tomorrow, ya know or next Tuesday, actually Friday sounds better, hmmm maybe not I do have that thing on Friday.

So right the recipe that thing...


INGREDIENTS:      (can serve 2)
¼ cup plain flour (do not use self-rising)
¼ cup sugar
¼ tsp baking powder
3 TBS milk
3 TBS oil
2 TBS whisked egg
3 TBS of nutella
1 TBS of peanut butter
3 TBS chocolate chips (optional-for when you want that chocolate comma)
Small drop or two of vanilla  
Extra large mug (should hold about 16 oz.)

DIRECTIONS:
First measure out flour, sugar, and baking powder. 

Make sure to level out all the dry ingredients, try to get it exact as you can. Add straight to the mug and stir all ingredients together with a fork.

Next add the 3 TBS milk, 3 TBS oil, and 2 TBS egg and stir right in. If the egg isn't completely whisked and it's hard to get a full TBS just pour the egg into the measuring spoon, over a sink in case it overflows. 

*** Also note one egg = about 3 TBS


Next add the 3 TBS nutella and 1 TBS peanut butter these can definitely over flow and note if you spray your measuring spoon with a little bit of cooking spray before measuring each out the nutella and peanut butter come out more easily.


Stir together until fully incorporated and there are almost no clumps.


Once it looks like this, pop it into the microwave for 2-2½ min at 1,000 watts keep in mind depends on your microwave.


On a plate of course, in case of accidental spillage. 
Cool in the fridge for 10-15 min and be careful cause it will still be hot.


Top with powder sugar or whip cream etc. Enjoy!

P.S. Monday is whip cream from scratch.


everything in short...

INGREDIENTS:     (can serve 2)
¼ cup plain flour (do not use self-rising)
¼ cup sugar
¼ tsp baking powder
3 TBS milk
3 TBS oil
2 TBS whisked egg
3 TBS of nutella
1 TBS of peanut butter
3 TBS chocolate chips (optional)
Small drop or two of vanilla  
Extra-large mug (should hold about 16oz. at least)

DIRECTIONS:
Add the flour, baking powder, and sugar to mug, stir well with a fork.
Next add egg, oil, and milk and mix again until fully incorporated.
Toss in the nutella and peanut butter, mix again.

Place mug in microwave (if you’re worried about the size of your mug place a saucer underneath to prevent spillage) and cook for 2-2½ min at 1,000 watts depends on your microwave.
Cake may rise slightly over the top of the mug but should not over flow.
Once cooked take out of microwave and place in refrigerator to cool for about 10-15 min even so it will still be burn your mouth hot. Top with powder sugar, whip cream, fudge, caramel (ya know if you’re feeling really crazy). 

Enjoy!


Baking Soda does NOT = Baking Powder

Apparently I am officially a ditz because after having made this recipe multiple times and reading the recipe as I was making it, I still managed to screw it up. But ya know life happens and here is fair warning to those who are just starting to bake: although there is only a one word difference trust me it means a lot. If ya don't believe you can ask my microwave...

Thanks to my lovely deterrence today I ran  out of eggs so I hope to see you later tonight with a recipe that does not explode in your microwave.