Friday, November 16, 2012

4 Ingredient Flat Bread

This is one of the easiest recipes in the book, hence one of the reasons it’s one of my favorites, I found it a while back kinda forgot where and had to change it a bit so I'm staking my name on it. Has only 4 ingredients and cooks in about 2 minutes each. They are great with just about any kind of sandwich and even by themselves. I figured I'd post this tutorial to go along with my flat bread pizza, which is coming up soon, and uses this recipe. Oh p.s. I will see you Monday to say a happy thanksgiving.

I have a hard time making a circle, I mean I meant to make weird shapes it's more fun that way.


INGREDIENTS:
3 cups all-purpose flour about ½  of a cup extra flour, for kneading
2 tsp salt
1 TBS fresh herb chopped (Basil, rosemary)
[you can use dried herbs but in that case use only about ½ TBS]
2 TBS extra virgin olive oil (extra virgin is important so it doesn't have a strong olive-y taste)
1 cup water


DIRECTIONS:


First combine 3 cups of flour with salt and herbs mix with a fork. 

Make a well in the center and pour in water and oil, mix until dough comes together. I like to use my hands and get down and dirty, if so make sure to have some oil on your hands first (so it doesn't stick), flour usually works too, otherwise a spoon will do. Try not to over mix.

It can look really clumpy at this stage I promise it's acceptable, that's what kneading is for. Spread flour on a flat surface, to keep from sticking, plop the dough on top and knead for about 5 minutes, just enough so the dough is smooth and cohesive.

Next put a couple drops of extra virgin olive oil in a clean bowl and make sure the oil is rubbed all over the bowl so (yep you guessed it) it doesn't stick. cover the bowl with a damp towel or cling wrap and let rest for 30 minutes at room temperature.

Now you're ready to roll (ha ha get it see what I did there, I know I'm cheesy).

Separate the dough into six equal portions flour the surface again and flour the rolling pin while you're at it,
(if the flour isn't sticking to the rolling pin get your hand a little wet then rub the rolling pin to get a bit of  water on it, and then flour it, and the flour should stick).

If something starts sticking add  a touch or flour, if it's a bit stiff add a couple drops of water.

Roll each portion into a ball in your hand and then flatten it a little bit so that it's about the size of the palm of your hand. Place on the floured surface and begin to roll it out.


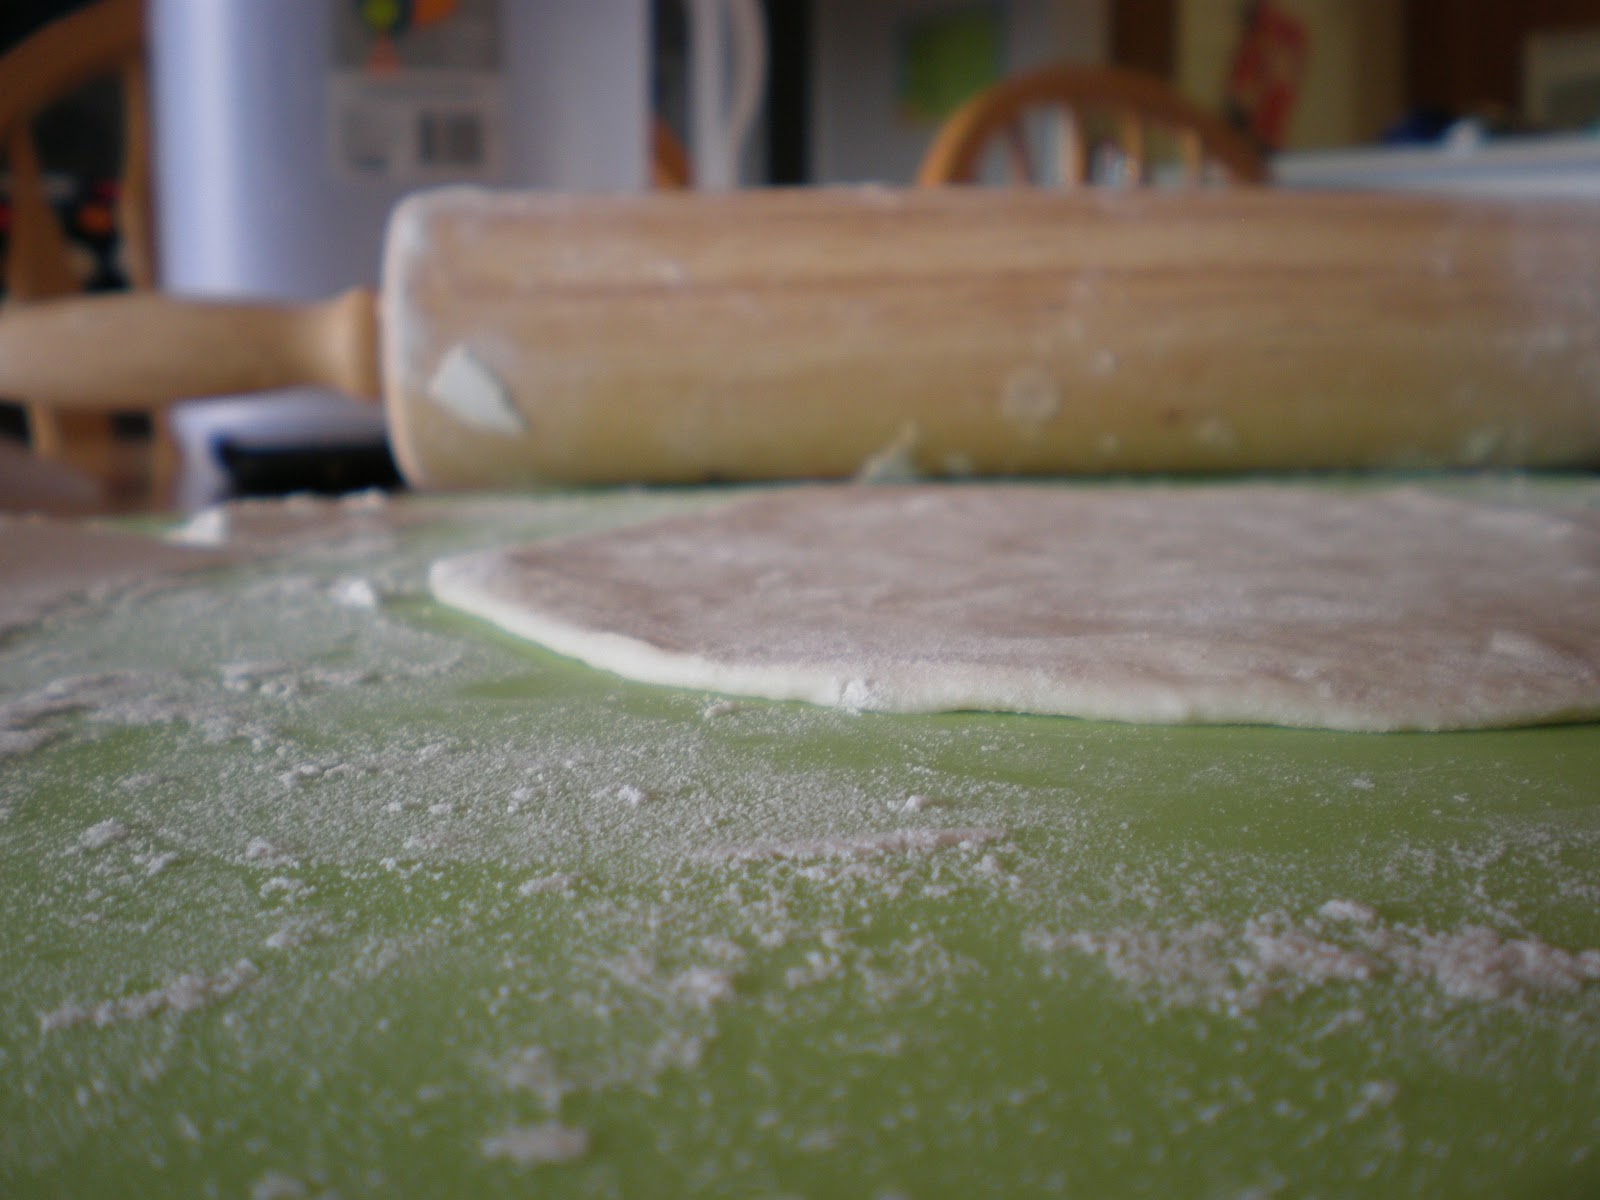
Now if you've never rolled out dough before the real trick to it is to NOT go all the way to the edges of the dough, but instead roll back and forth and turning the dough and rolling in the opposite direction after the dough has grown about an inch or so on each end. You want the dough to be about 8 inches across and fairly thin too like a tortilla.

If something starts sticking add  a touch or flour, if it's a bit stiff add a couple drops of water.

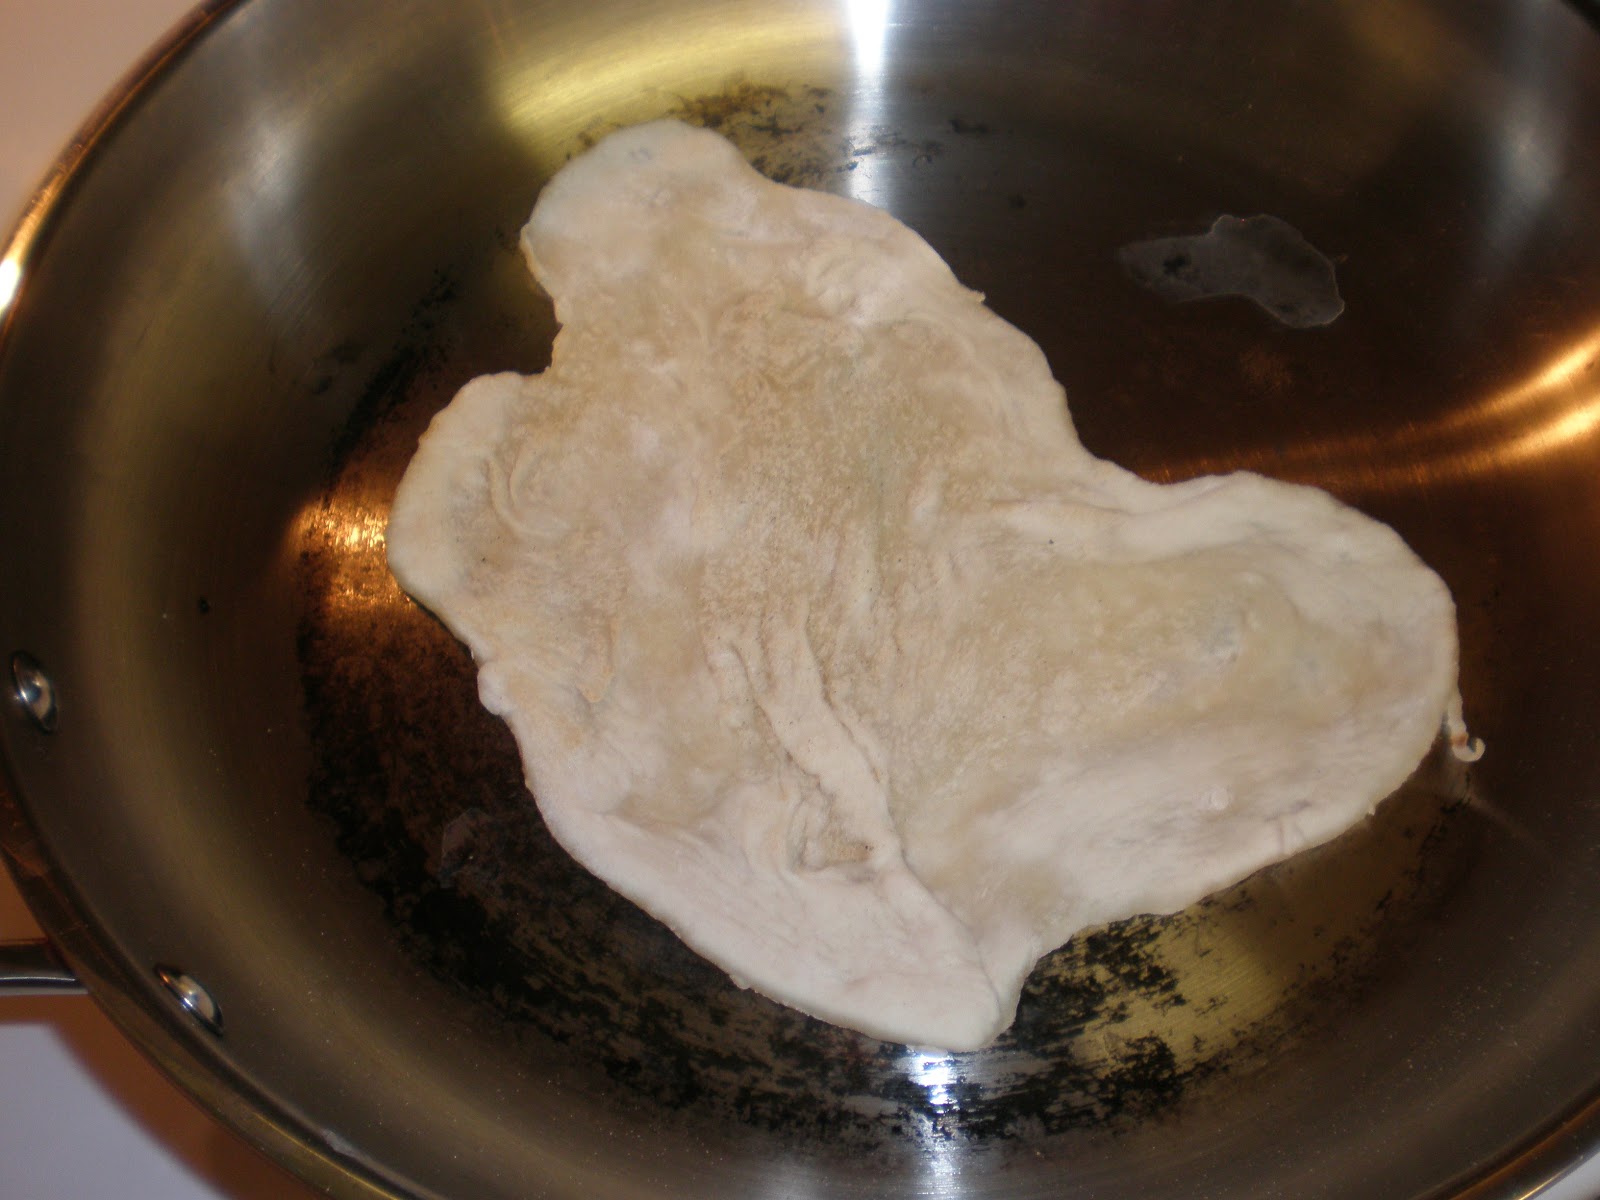
My beautiful circle.
Once your dough is rolled out heat up your skillet (preferably cast iron) on about med high.
You'll know its hot enough when a drop of water can sizzle off place the rolled out dough in pan and leave it for about a minute or two bubbles may start to form on the top and the dough should become slightly opaque. After the minute flip it over and cook the other side for 1-2 minutes, and follow suit with the rest until brown spots start to form.

***One thing that should be noticed is the longer you have the pan on the stove the hotter it gets, so the rest of the flat breads usually take a gradually shorter amount of time, which makes them easier to burn which happened to a couple of mine***


The end, and here's the finished product, now you can take a bow and give yourself a pat on the back.
Oh and make yourself a sandwich of course....

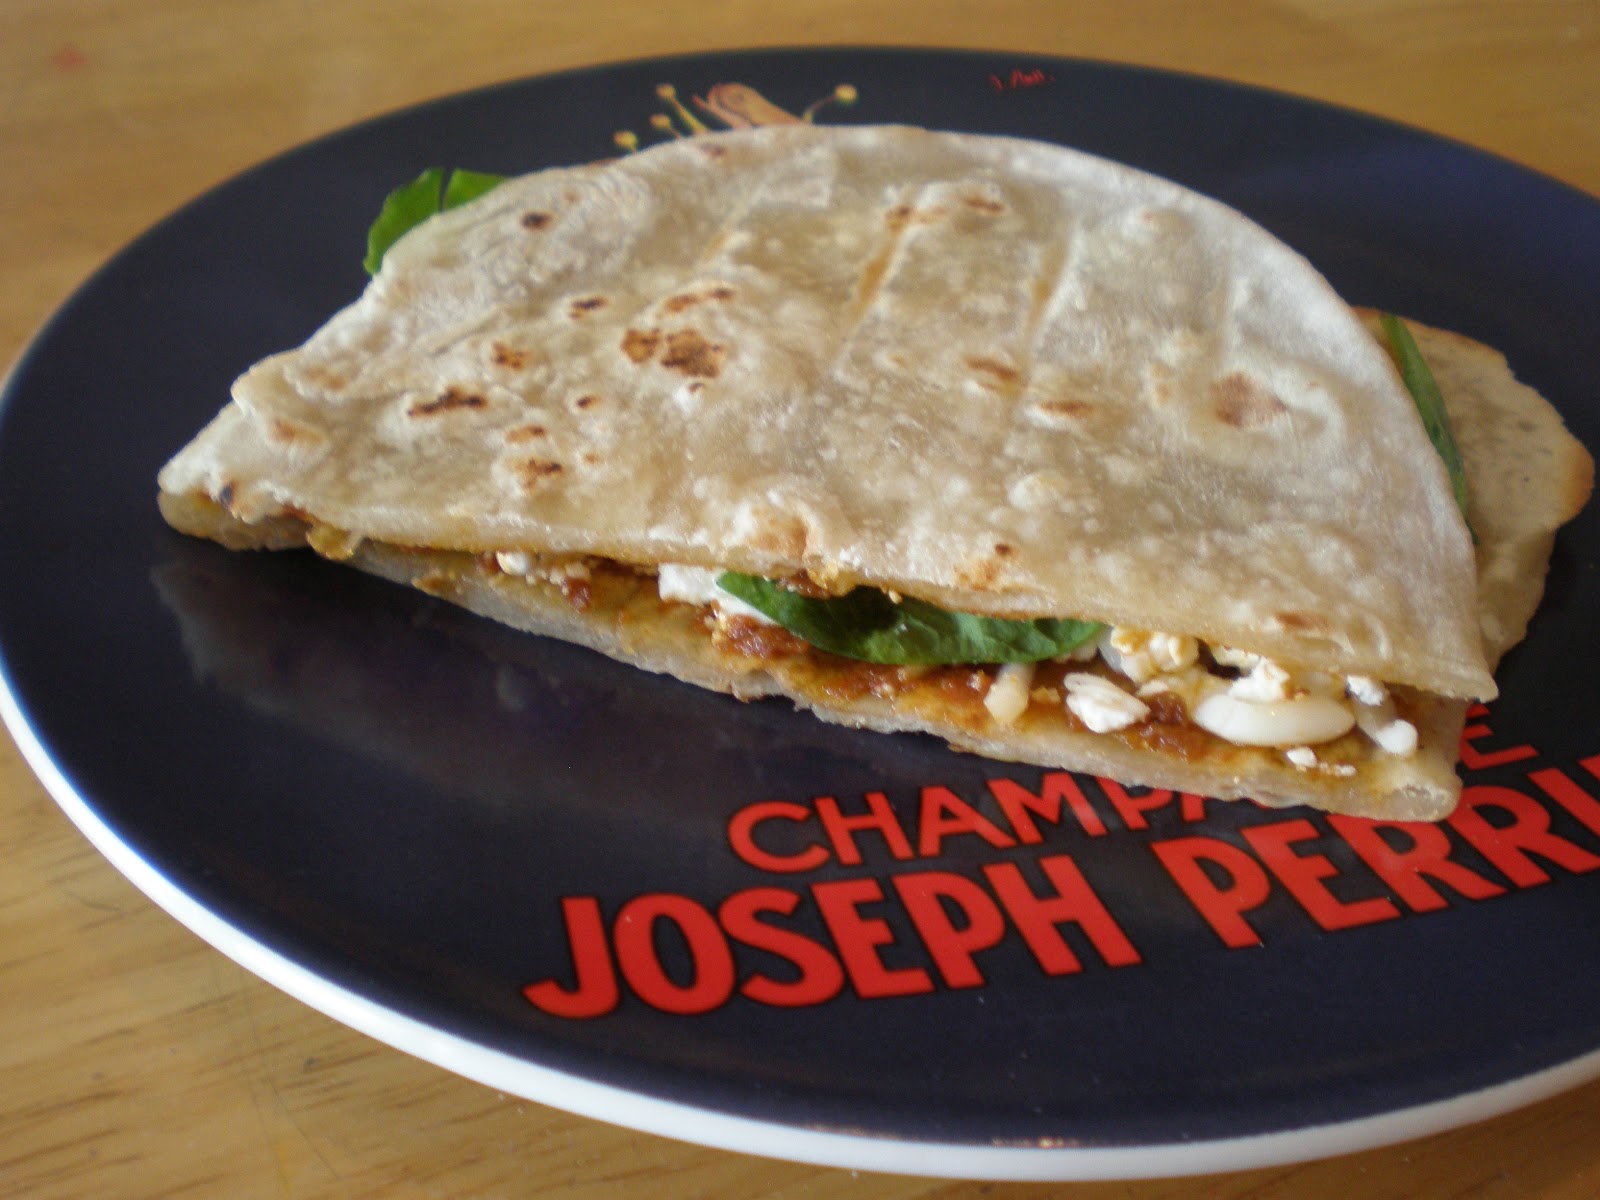
Flat bread sandwich: basil, feta, mozzarella, tomato basil pesto


everything in short....

INGREDIENTS:
3 cups all-purpose flour about ½ a cup extra flour, for kneading
2 tsp. salt
1 TBS fresh chopped herb (Basil or rosemary) *OPTIONAL
[you can use dried herbs but in that case use only about ½ TBS]
2 TBS extra virgin olive oil
1 cup water

DIRECTIONS: 
Combine 3 cups of flour with salt and herbs mix with a fork. 
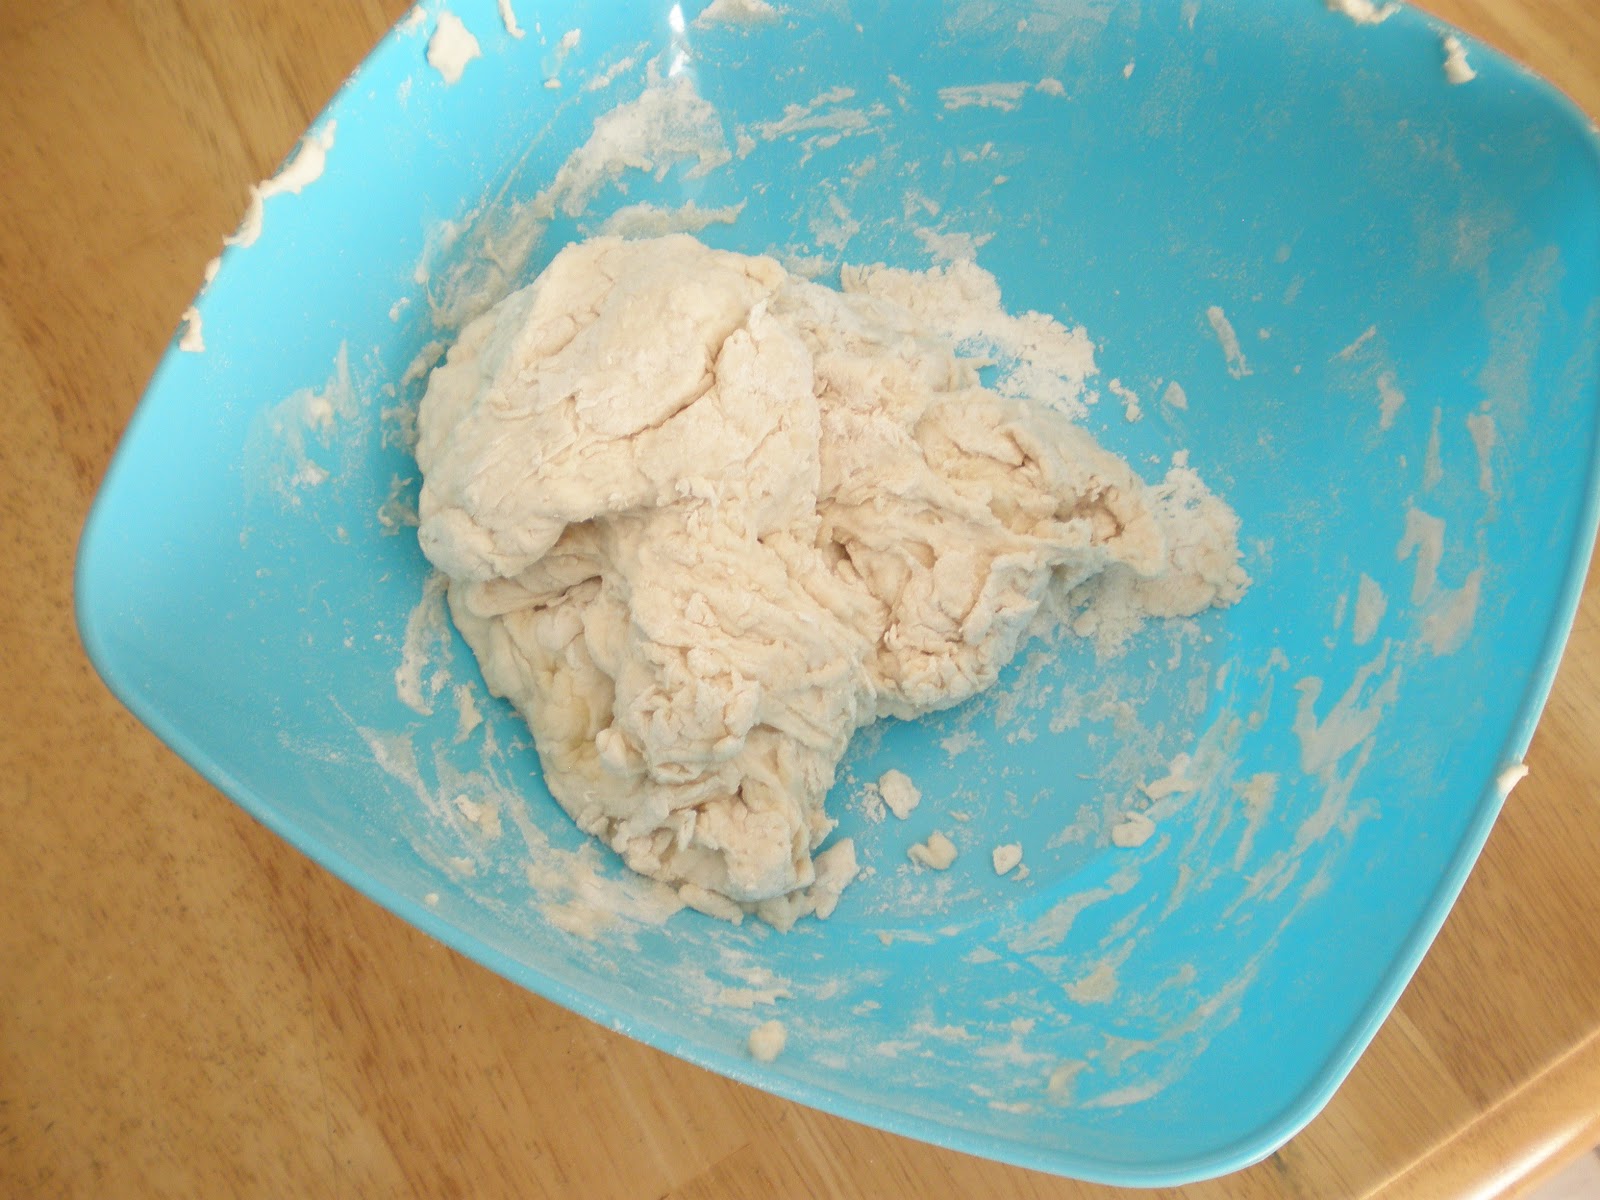
Make a well in the center and pour in water and oil mix until dough comes together, try not to over mix.Spread flour on a flat surface and knead for about 5 min just until the dough is smooth and cohesive.

Grab another bowl put a couple drops of extra virgin olive oil and rub it all over the sides of the bowl so the dough won’t stick. Place the dough in the bowl with cling wrap or a damp towel over the bowl and let rest for about half an hour.

Divide the dough into about 6 equal size portions, flour the flat surface and rolling pin and roll each portion out to about 8 in. across. Heat a skillet preferably cast iron, but any will do.  Wait for it to heat up you’ll know it’s hot enough when a drop of water dissolves on contact with the pan.

Cook each for 1-2 min on each side, flip after it becomes opaque and or bubbles start to form. Once you see brown spots you know it's done.

Friday, November 9, 2012

Banana Chocolate Peanut Butter Smoothie

It was one of those days where I just really wanted a smoothie, then I saw the over ripe bananas on the counter, banana peanut butter it is then. The other thing I absolutely love about this shake is that it always keeps me full all morning. It has the cocoa powder which has antioxidants, the peanut butter and yogurt which has the protein and omegas and the banana which adds sweetness. I know this is a real tough one, it gets kinda complicated but I'm pretty sure ya'll can handle it.


INGREDIENTS: serves 1

1 ripe banana (one with quite a few brown freckles)
¾ cup of ice (about a handful)
3 TBS peanut butter
½ TBS cocoa powder
1 tsp. of granulated sugar
½ cup of vanilla yogurt
Splash of milk enough to cover the bottom of the blender once everything else is in there about an inch


DIRECTIONS:

Throw everything in add milk last if measuring about an inch at the bottom. For thinner smoothie add more milk. Blend until desired thickness is achieved.


Now don't forget to give yourself a pat on the back for all that hard work!
See ya next week guys.

Friday, November 2, 2012

Soooo.......

Sooooo I apologize in short for not being around lately, but I would like the world to know that I am working very hard to get this page back up and running.  And  I'm working on a system for recipes on a weekly basis  (shocking I know) starting next week Nov. 9, I already have a recipe for you but its a secret, so I can't tell you, but you only have to wait 7 days this time, I promise. Ok ok I'll give you one hint...
it's delicious. Aw shucks darn I fear I've said too much no more hints for you.

As for now I was wondering about something, I went to the grocery store the other day and found an ever so curious fruit. It wasn't a pear nor was it an apple but yet it claimed to be both. the mysterious being of the pear apple.


THE Pear Apple


I swear the texture was a 50/50 cross between an apple and a pear.  It was sweet like an apple but still had a hint of the pear, yet it was crisp like and apple but more juicier than an apple like a pear would be. It was a very confusing day for my taste  buds. All in all I have to say it was good but definitely not my new favorite fruit, I don't like it when my fruits mix.  After a bit of research I found it is actually a fruit that has originated from eastern parts of Asia, but now is also grown in other parts of the world including the U.S. I am always up for trying new things and it was quite tasty but not for me.

The thought for the day any weird fruits you've tried recently, or food in general.

Saturday, March 31, 2012

The beginning...

Sooo I guess the proper thing to do here would be to introduce myself here, I love food (just in case you couldn't have guessed that one), one of my favorite Disney movies is ratatouille, and I love to cook. Now that that you know my deepest darkest secrets I suppose we can get down to business.

This blog is meant to be the stories of an amateur chef to the amateur chef, a slight blind leading the blind mentality except I make the mistakes so you don't have to. Seeing as I have no culinary experience (unless watching excessive amounts of food network, and keeping up with about five different food blogs counts?) I learn from a lot of trial and error, and a lot of research.  A few more facts about me:


 I started this blog to because I love to cook, to bake, and to eat. There is just something extremely comforting about taking a bunch of raw ingredients and making something completely different with them.    Another reason is to document my experiences and my ideas about cooking from scratch. It’s kind of been my life goal to learn to cook all my favorite dishes from scratch; I eat processed food but only do so while in protest, no I'm not really that bad about it, but aside from my occasional craving for greasy food fast food is kind of the bane of my existence, I like to make and eat food that I know where most of it came from. Now I will admit I definitely take shortcuts from time to time but I try my hardest not to. Now for the food...


Creamed Spinach

The finished dish (I apologize for the shoddy camera work ).


For the first dish I've decided to share is something extremely simple. The other day while rifling through my fridge I found a forgotten packet of baby spinach leaves on the verge of going bad and so decided to throw something together with the contents of my fridge. Recipe calls for:


SERVES: 1
2 cps uncooked spinach leaves
1 tsp minced garlic (about one clove)
1 1/2 TBS diced onion (yellow or otherwise)
2 TBS plain whipped cream cheese (whipped was in my fridge if you use regular cream cheese cut amount to 1 TBS)
1 (heaping) TBS sour cream
a couple drops of milk preferably 2% or higher no more than 1 TBS
1-2 pats of butter (really depends on the size of the pan you use, just enough to cover the bottom of the pan when melted)
I added about a good bit of sausage slices, just the pre-cooked kind you find along with sandwich meat in the refrigerator section of the grocery store
salt and pepper to taste


First chop the onions and garlic, rinse of the spinach leaves, if needed, and give the leaves a rough chop. Next melt the butter in the pan (at heat a one or two notches hotter than medium), move around every now and then make sure not to burn it, once butter is completely melted and covers the bottom of the pan. 


Add the sliced sausage (about a quarter inch thick slices) to the pan letting them brown on one side for about 1-2 minutes and then flip the slices over for about a minute. 


Toss in the chopped onions and garlic, stir occasionally. Once the onions become slightly opaque and yellow turn the heat down to medium add the spinach, a couple drops of milk and the softened cream cheese (this is better to add not straight from the fridge and in small amounts so that it will melt more evenly and faster)


Once the cream cheese is almost fully melted mix in the sour-cream, salt and pepper to taste and serve.


This recipe would taste even better with some corkscrew pasta and some parmesan cheese! If only I kept my pantry  better stocked. 


-Julie